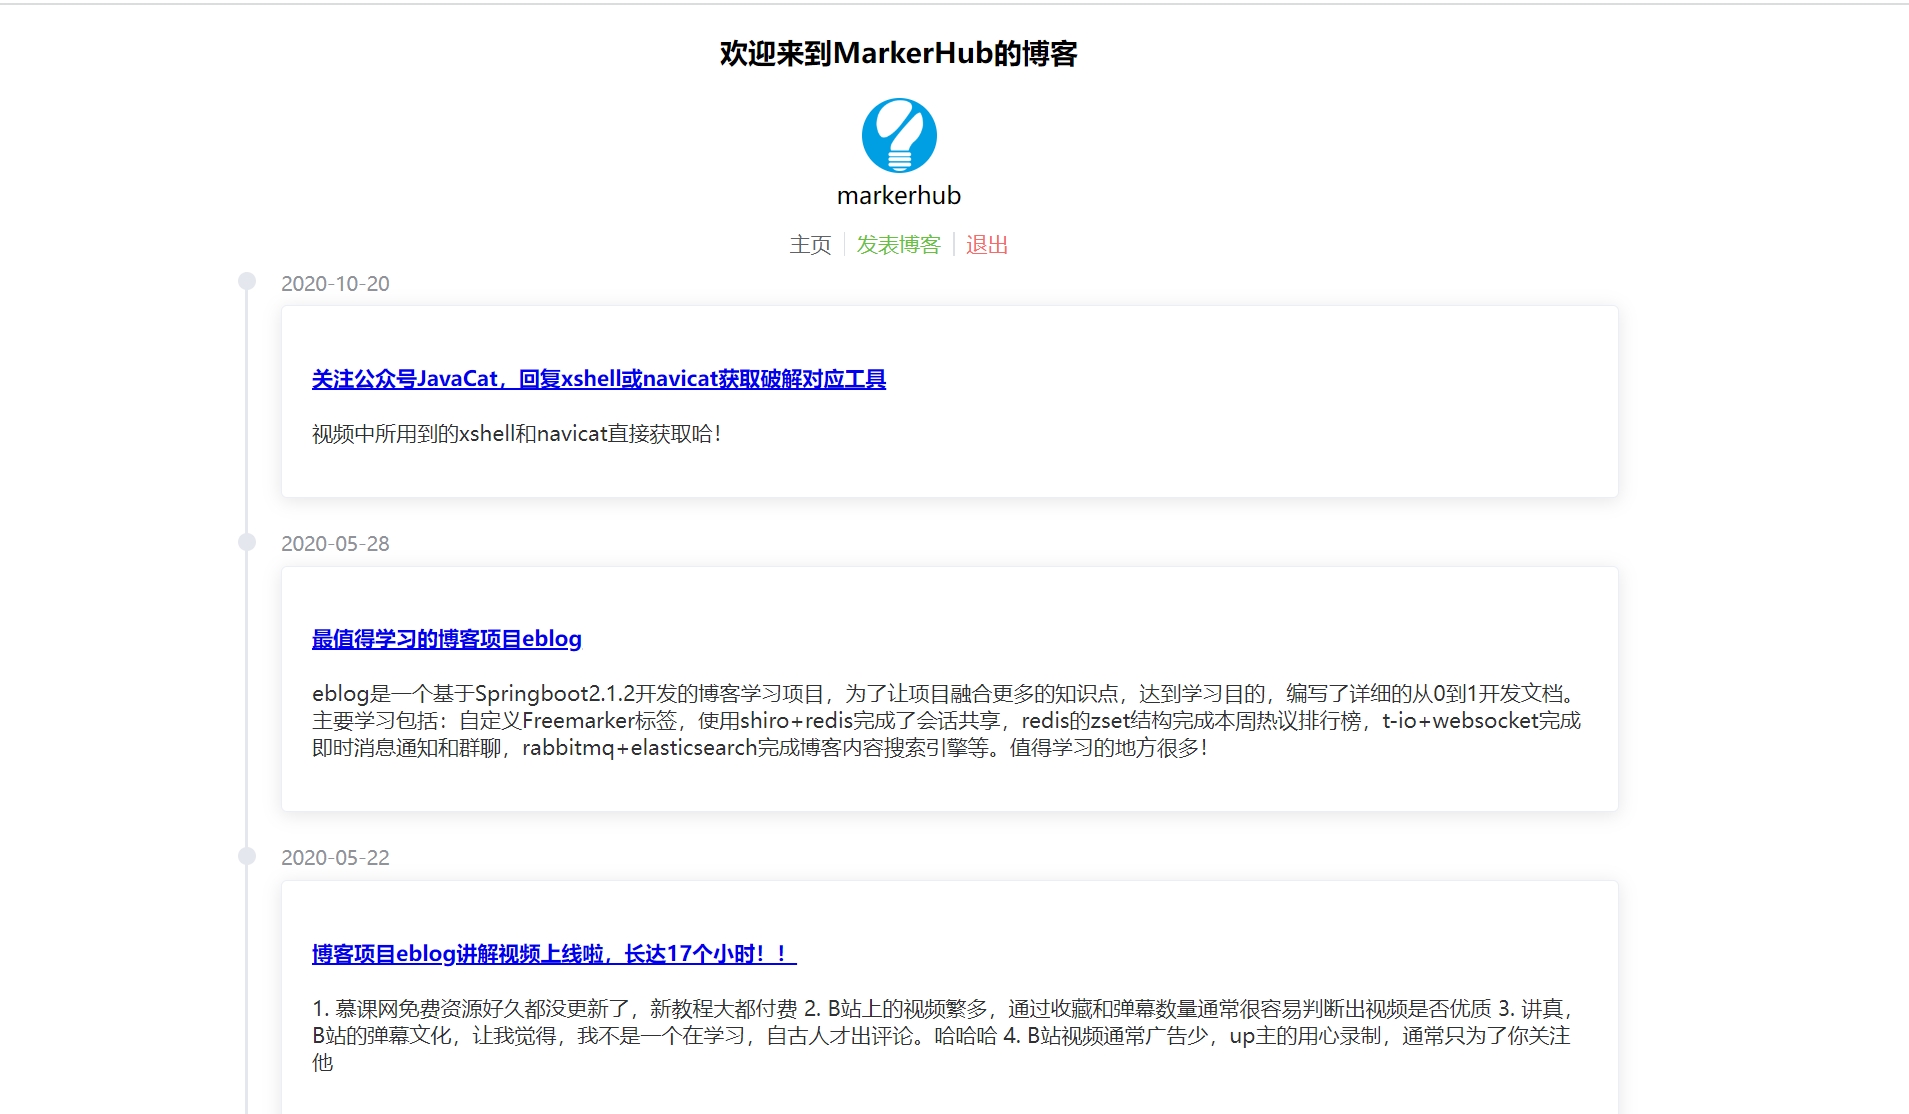
Docker+nginx部署Springboot+vue前后端分离项目
luffy 11/13/2023 docker
# 1.拉远程仓库项目
部署项目:https://github.com/MarkerHub/vueblog (opens new window)
# 前端
# 安装依赖
npm install
1
# 配置调用路径
src\axios.js
axios.defaults.baseURL = "http://自己主机ip:8081"
1
前端部署还需要考虑一个问题:打包之后项目资源引用路径,比如我们打包后链接是否需要带项目名称等。按照Vue官方的部署说明,我们添加一个vue.config.js文件,
vueblog-vue/vue.config.js
module.exports = {
publicPath: '/'
}
1
2
3
2
3
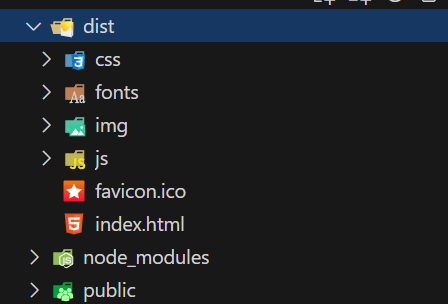
# 打包后拿到dist文件
npm run build
1
# 后端
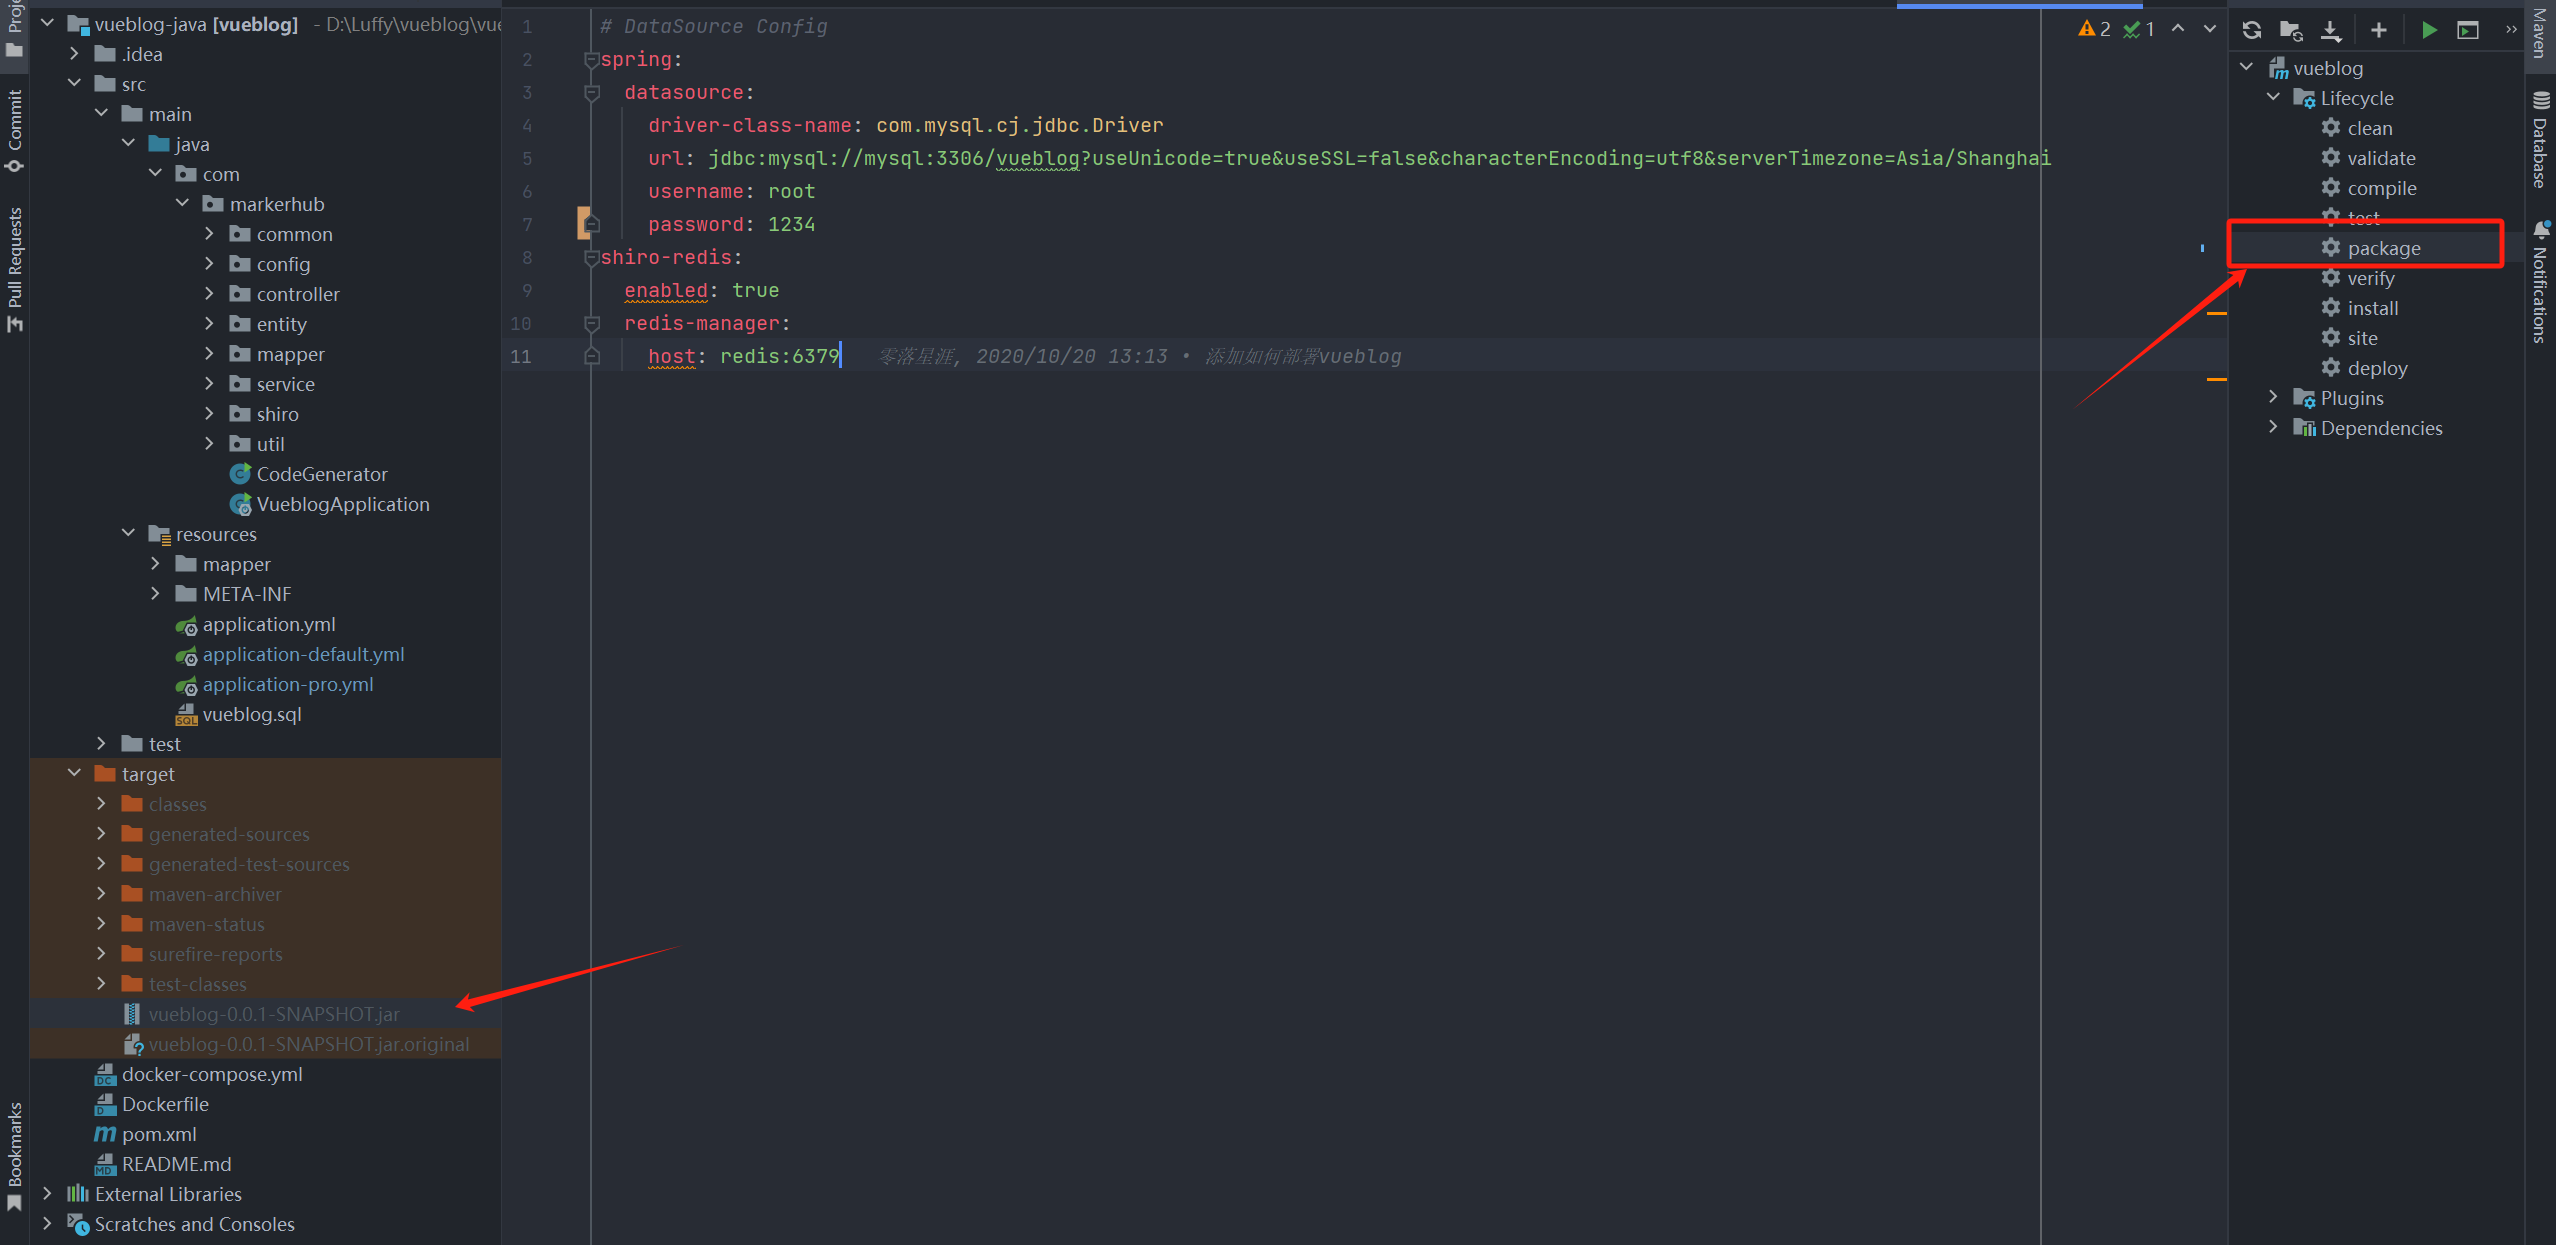
# 将application-pro.yml 文件修改localhost为自己的服务器IP
spring:
  datasource:
    driver-class-name: com.mysql.cj.jdbc.Driver
    url: jdbc:mysql://服务器IP:3306/vueblog?useUnicode=true&useSSL=false&characterEncoding=utf8&serverTimezone=Asia/Shanghai
    username: root
    password: 1234
shiro-redis:
  enabled: true
  redis-manager:
    host: 服务器IP:6379
1
2
3
4
5
6
7
8
9
10
2
3
4
5
6
7
8
9
10
# 打包生成jar包
# 2.linux服务器
# 安装docker
#安装
yum install docker
#检验安装是否成功
[root@localhost opt]# docker --version
Docker version 1.13.1, build 7f2769b/1.13.1
#启动
systemctl start docker
1
2
3
4
5
6
7
2
3
4
5
6
7
# 安装docker compose
可以参考:https://docs.docker.com/compose/install/ (opens new window)
# 安装
sudo curl -L "https://github.com/docker/compose/releases/download/1.27.4/docker-compose-$(uname -s)-$(uname -m)" -o /usr/local/bin/docker-compose
# 授权可执行权限
sudo chmod +x /usr/local/bin/docker-compose
# 检查是否安装成功
docker-compose --version
1
2
3
4
5
6
2
3
4
5
6
# 编写Dockerfile文件
# 使用官方的 Java 8 基础镜像
FROM java:8

# 将端口 8080 暴露给外部
EXPOSE 8080

# 将 JAR 文件(vueblog-0.0.1-SNAPSHOT.jar)添加到容器中,并命名为 "app.jar"
ADD vueblog-0.0.1-SNAPSHOT.jar app.jar

# 运行 bash 命令以触摸 "app.jar" 文件,更新其修改时间
RUN bash -c 'touch /app.jar'

# 设置容器的入口点
# 当容器启动时,将执行指定的 Java 命令来运行 JAR 文件
# "--spring.profiles.active=pro" 使用线上环境配置
ENTRYPOINT ["java", "-jar", "/app.jar", "--spring.profiles.active=pro"]
1
2
3
4
5
6
7
8
9
10
11
12
13
14
15
16
17
2
3
4
5
6
7
8
9
10
11
12
13
14
15
16
17
# 编写docker-compose.yml文件
version: "3"
services:
nginx: # 服务名称,用户自定义
  image: nginx:latest  # 镜像版本
  ports:
  - 80:80  # 暴露端口
  volumes: # 挂载
  - /root/nginx/dist:/usr/share/nginx/dist
  - /root/nginx/nginx.conf:/etc/nginx/nginx.conf
  privileged: true # 这个必须要,解决nginx的文件调用的权限问题
mysql:
  image: mysql:5.7.27
  ports:
  - 3306:3306
  environment: # 指定用户root的密码
    - MYSQL_ROOT_PASSWORD=1234
  volumes:
      - ./mysqlData:/var/lib/mysql #数据库容器卷
redis:
  image: redis:latest
vueblog:
  image: vueblog:latest
  build: . # 表示以当前目录下的Dockerfile开始构建镜像
  ports:
  - 8081:8081
  depends_on: # 依赖与mysql、redis,其实可以不填,默认已经表示可以
    - mysql
    - redis
1
2
3
4
5
6
7
8
9
10
11
12
13
14
15
16
17
18
19
20
21
22
23
24
25
26
27
28
2
3
4
5
6
7
8
9
10
11
12
13
14
15
16
17
18
19
20
21
22
23
24
25
26
27
28
# 准备好nginx的挂载目录和配置
docker-compose.yml中已经提到,
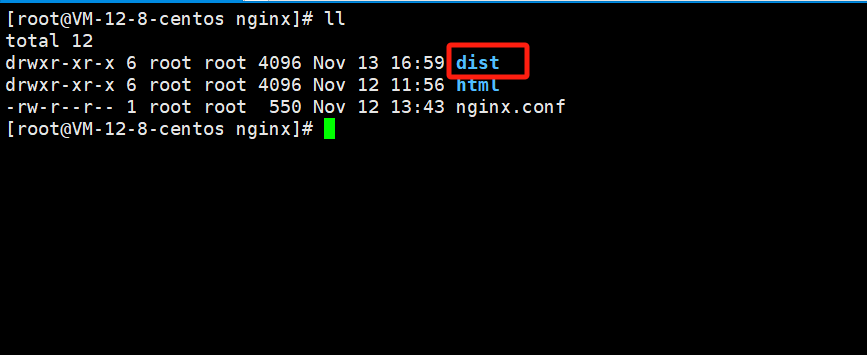
宿主机的挂载目录:/root/nginx/dist
挂载配置:/root/nginx/nginx.conf
所以我们在root目录下新建nginx目录,并进入nginx目录下新建dist目录和一个nginx.conf配置文件。(可自行调整)
然后对nginx.conf进行编写,具体配置如下:
worker_processes  1;
events {
  worker_connections  1024;
}
http {
  include       mime.types;
  default_type  application/octet-stream;
  sendfile        on;
  keepalive_timeout  65;
  server {
      listen       80;
      server_name  localhost;
      location / {
          root   /usr/share/nginx/dist;  # 指定根目录
          try_files $uri $uri/ /index.html last; # 找不到重定向到/index.html
          index  index.html index.htm;
      }
      error_page   500 502 503 504  /50x.html;
      location = /50x.html {
          root   html;
      }
  }
}
1
2
3
4
5
6
7
8
9
10
11
12
13
14
15
16
17
18
19
20
21
22
23
2
3
4
5
6
7
8
9
10
11
12
13
14
15
16
17
18
19
20
21
22
23
# 3.上传服务器
docker-compose.yml
Dockerfile
后端打包的jar包到root根目录
新建mysqlData容器卷文件夹
(当然也可以前面直接在服务器编辑)

# 上传前端dist的文件到 /root/nginx/dist
# 4.执行命令
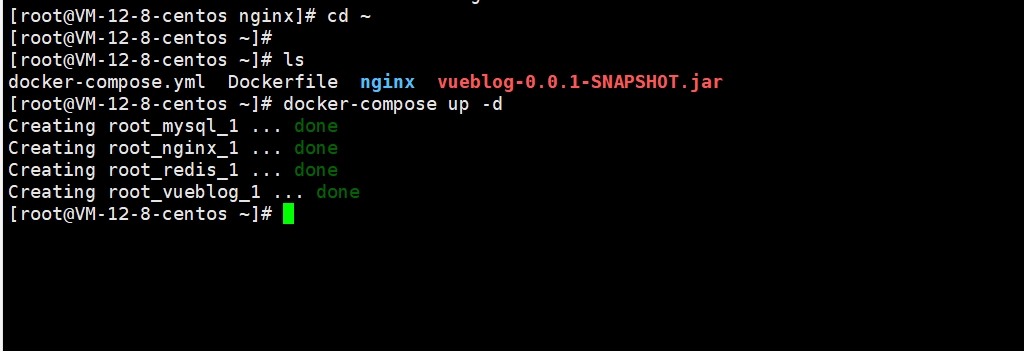
# 开始编排
cd ~
docker-compose up -d
1
2
3
2
3
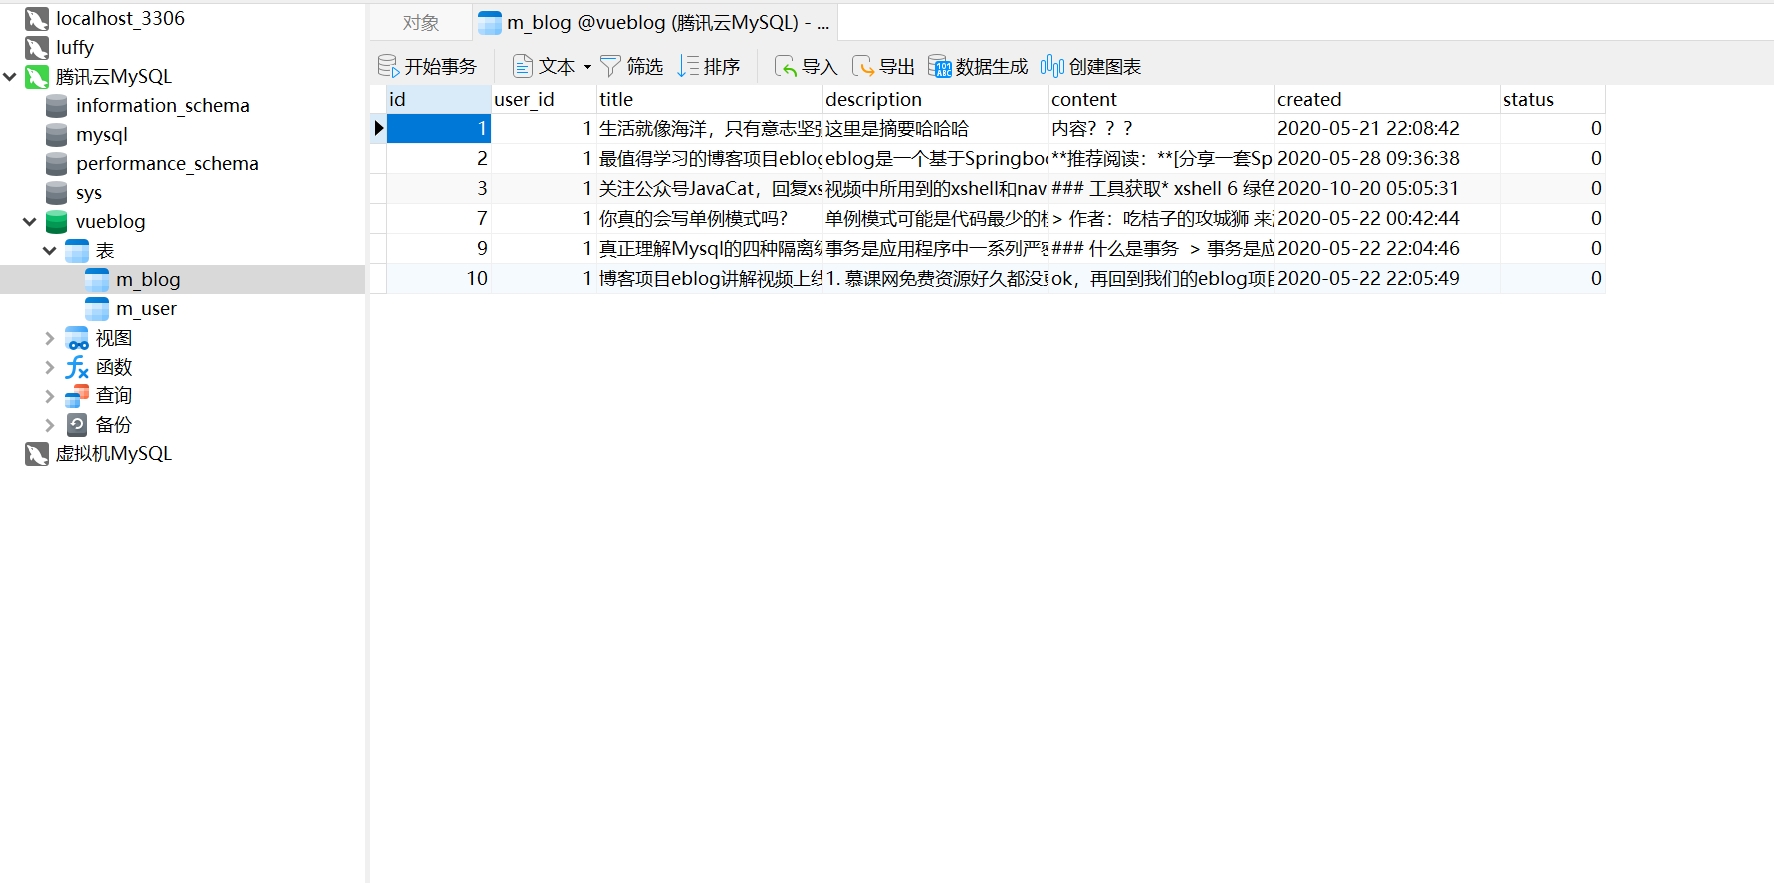
# 使用Navicat 连接上MySQL新建数据库并且导入数据
数据库登录密码 -> 在docker-compose.yml设置的 1234
# 服务器IP就能访问网页了-> http://IP地址/blogs (opens new window)
